Homeowners aren’t particularly fond of clay soil. While clay soil does seem great for gardens due to its impressive moisture retention and high nutrient content, its cons tend to outweigh the pros. Clay soil cannot drain water well and it doesn’t warm up fast enough in spring. It is also usually alkaline and prone to soil compaction. To address these problems, here’s a DIY guide to improve clay soil in your garden.
Dividing the Area
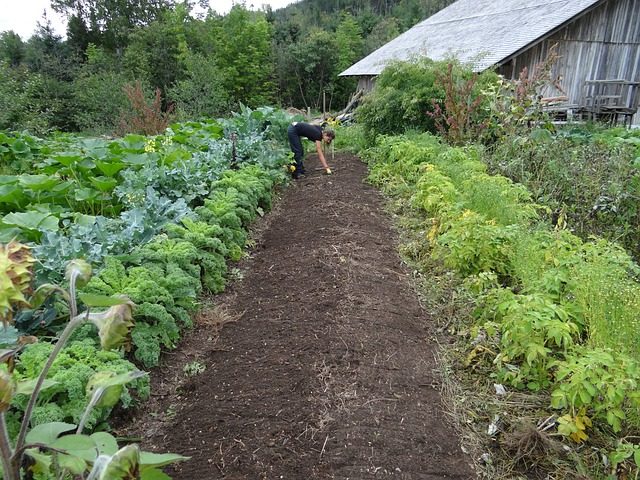
Working on improving the clay soil takes time, so it’s best to identify the areas in your garden. Divide the garden into square patches measuring around ten square feet each. Use a tape measure to ensure accurate measurements. Now that you’ve marked these areas, prepare at least a cubic yard of sand and humus for each square patch.
Turning the Existing Clay Soil
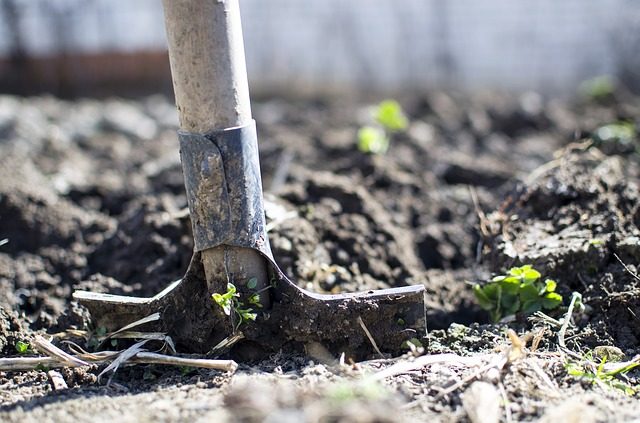
Clay soil typically has a significantly thin topsoil. Thus, you have to turn the soil to a depth ranging between six and inches when it isn’t wet. Doing it with your hands alone will take some time because clay soil gets into clumps. You can use a pitchfork or even a rake, but the best option is a garden tiller.
Tillers are designed to designed to efficiently dig into the soil. Front-line tillers function using two tines underneath the engine. They work well in tilling narrow sections since they are easy to move around. Even if they are better than cultivators, front-tine tillers don’t hold a candle to rear-tine tillers.
Rear-tine tillers are powerful enough to turn over as much clay soil as you want no matter how tough they are. Likewise, these tillers have sizable wheels to steadily move on the uneven ground. The tines are placed behind the machine and move independently of the wheels. Tine rotation also comes in a variety of options. Some rear-tine tillers offer either forward rotation or counter-rotation — with other models having both options.
Here is a video of turning the soil:
Cover the Area with Humus
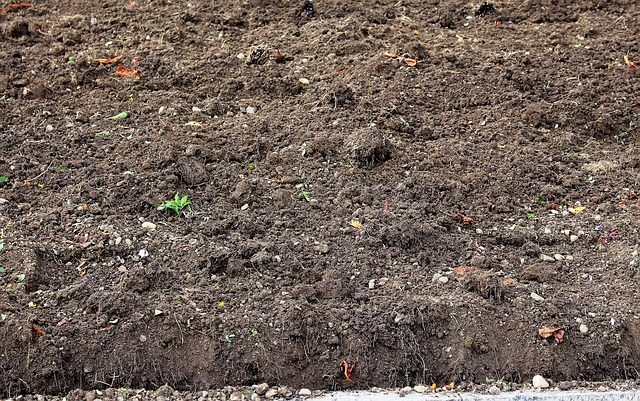
Remember the humus you prepared for the square patches? It’s time to put it on the soil you’ve tilled. Get a flat-tip shovel to carry heaps of humus around and place them on the patches. Do not concentrate on just one specific section and distribute the humus evenly.
The amount you apply should be just half of the tilling depth. For example, you need to add three inches of humus or organic matter if turned the soil to a depth of six inches. In time, the soil should develop a darker appearance. Moreover, the soil wouldn’t lose the shape it took if you squeeze a handful of it.
Conduct a Sand Application
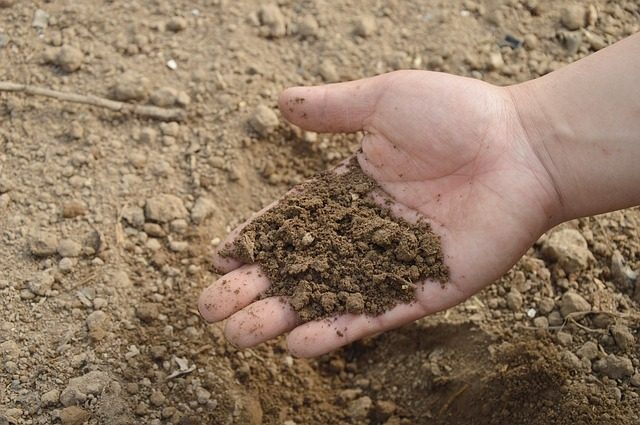
After applying the humus, you should now work on spreading the sand. This material will improve the draining capability of clay soil. Use a garden spreader to easily cover your garden with sand. Afterward, turn the soil two times using a rake, pitchfork, or tiller.
The first one should turn the clay soil lengthwise while the second operation should turn the soil from one side to the other. The soil should eventually maintain its dark appearance but with a grainy texture due to the sand.
Develop Raised Garden Beds
Apart from the sand application, the creation of raised beds can also help make your clay soil well-draining. You can make one using wood, stone, or even by just building a mound of soil. What matters is that these beds will encourage the water to run off instead of staying for longer than necessary.
Overall, you can certainly improve the clay soil if you are patient enough. Just prepare some humus and sand along with particular tools and equipment such as a measuring tape, garden rake, tiller, and a garden spreader. The improvements won’t be immediately detected, but we hope that you learned a lot from our guide. If you have any queries, do send us a comment.