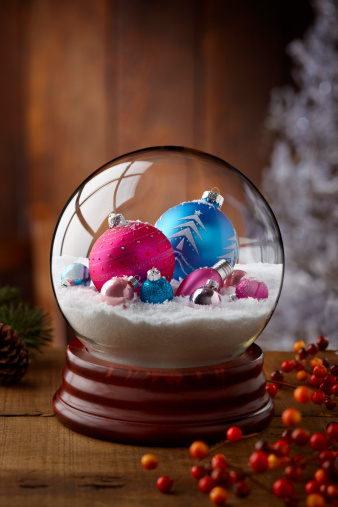
you’re feeling wistful for a snow glob, you don’t need run out and buy one for the holidays. Christmas snow globs are very easy to make at home. Without any special skills or experience, you’ll be able to create one that reflects your personality and the nature of your holiday dreams.
DIY Snow Globe Materials
Before you get started, be sure you have all the necessary materials on hand. Here’s what you’ll need to design the snow globe:

- A glass jar: Any jar with a well-fitting lid will work so you’ve got lots of flexibility in terms of size and shape. Some great choices include Mason jars or jars from baby food, spaghetti sauce, jam or olives. If you want a truly professional looking snow globe, you can purchase a premade globe and base instead of using a jar.
- Miniature figures and greenery: Find plastic or ceramic figures, trees and plants that will fit in your chosen jar. Check out hobby stores, toy stores and floral supply stores to find the perfect decorations for your snow globe. Miniature Christmas trees, Santa figures, country houses, greenery and winter blossoms, polar bears, sleighs, reindeer, penguins, children, presents, puppies and kittens all fit well with a Christmas-themed display.
- Little Extras: Make your snow globe really special by adding some clear quartz crystals to look like ice, colorful crystals for a magical fairytale look, twine to form reins for a sled or tiny beads or faux jewels for decoration.
To transform your design into a working snow globe, you’ll also need:
- Distilled water
- Glitter
- Glycerin
- Sandpaper
- Epoxy
- Hot glue gun
- Oil-based enamel paint.
If you’d like, you can also include some glitter spray and plastic snowflakes.
Instructions For Making A Snow Globe
Now you’re ready to assemble your snow globe with these easy steps:
- If desired, paint your jar lid with oil-based enamel paint in a seasonal color or pattern. This step is optional.
- When lid is dry, rough up its inner surface with sandpaper.
- If desired, use oil based enamel paints, glue and spray glitter to decorate the figures and greenery you’ll be using in your globe. You might want to paint some white “snow” onto your miniature Christmas tree or house, or perhaps give a polar bear a sparkly coat. This step is also optional.
- Glue figures and greenery to the inside of the jar lid with epoxy. If you’d like, add some extra blobs of glue around your figures that you can paint white to create snowy hills and mountains.

- When epoxy is dry, fill jar almost to the top with cold distilled water.
- Add just a pinch of glitter and a dash of glycerin to the water. Be careful not to overdo the glitter. Too much glitter will end up obscuring your view of the scene.

- Add a ring of hot glue around the lid for a watertight seal and screw on lid.
- Leave jar lid-up overnight to allow the glue seal to dry completely.

- Turn your jar over and enjoy your glittery Christmas scene.

If you’d like, you can enhance your design by decorating the rim of the jar lid. You might want to add:
- Glitter
- Plastic berries
- Ribbon
- Buttons
- Stickers.
Christmas Snow Globe Tips
These tips will help you create unique and beautiful snow globes:
- Choose figures carefully: Only use materials that are waterproof such as plastic or ceramics. Metal figure might rust and wooden figures will warp and rot.
- Secure everything: Be absolutely sure figures are glued securely and glue is dry before adding water and screwing on the lid.
- Test your glitter: Before sealing your lid, stir up the water, glycerin and glitter to insure you achieved the desired effect.
- Add a personal theme: Expand the holiday theme to express something personal about yourself or the person who’ll be receiving the snow globe. Perhaps Santa or another figure could be holding a little tennis racquet, football, guitar or anything else that reflects the interests and hobbies or the recipient.
- Explore hobby kits: You’ll find lots of great miniatures in toy train and car sets.
- Add extra color and texture: You might want to add a drop of colored oil, some food coloring or just mix different colored glitters in your snow globe.
Making your own Christmas snow globs is a fun way to use your imagination, express yourself and create a little holiday magic. This simple, fun project is easy enough for kids to be a part of. Invite them to join you and start a new holiday family tradition.

Resources:
This post was originally found at idealhomegarden.com, but that site is no longer online. If the original author would like us to remove this, please email us. We have re-published this because we thought our readers would enjoy seeing this wonderful snow globe tutorial.