Concrete Pendant Lamp
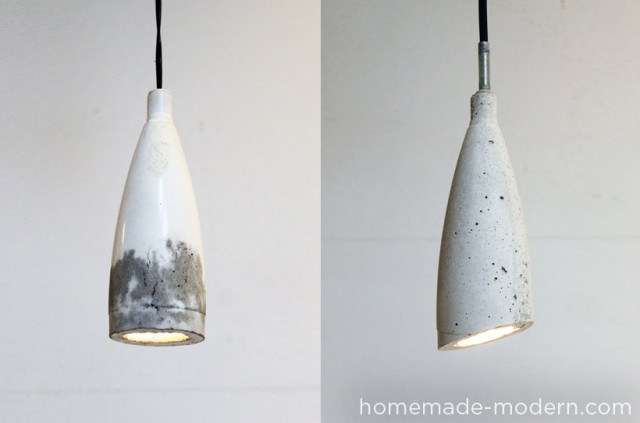
While modern lighting styles and trends can cost you a pretty penny, it’s completely possible to make your own pretty lights for only pennies. We can thank our friends over at HomeMade Modern for this great tutorial that won’t break your wallet. In total, your expenses will run you less than $10. Now let’s start with your end product for inspiration.
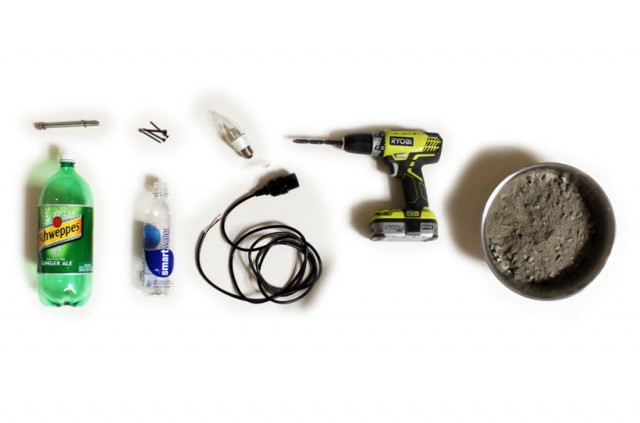
Oh yeah, that looks nice. To begin, you’re going to need to buy a few things.
-
- Quikrete 5000 Concrete Mix
- Electrical Components such as socket, cord, and switch (reference picture)
- A 2-liter soda bottle and smaller water bottle
- Threaded tube and nuts (3/8th inch diameter tube used here)
- 3-1/2 in deck screws (to hold the bottle in place)
Your tools required for the job are:
- Box cutter or knife
- Drill with a 3/8th diameter standard bit for drilling holes in the caps
- Wire cutters
This should be close to what your total supplies look like.
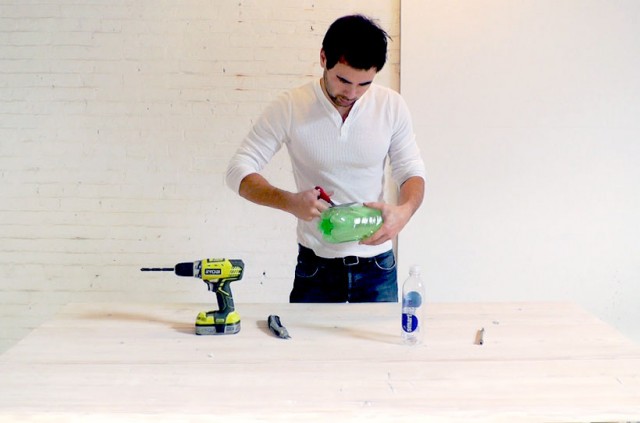
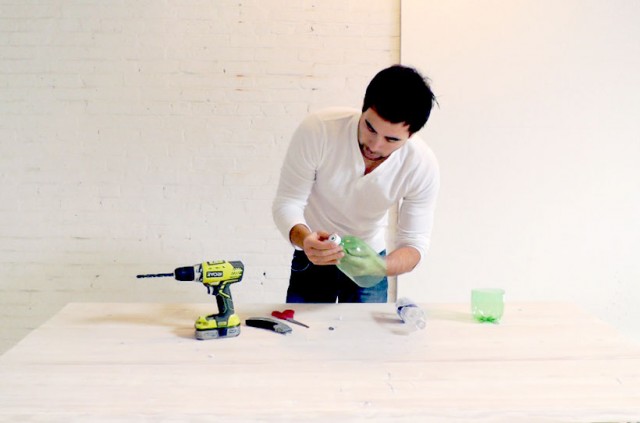
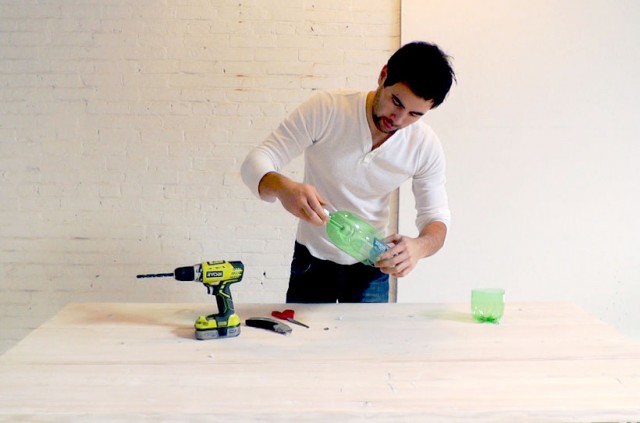
The first step is to poke a hole in the large soda bottle and cut around to the size you want the lamp to be.
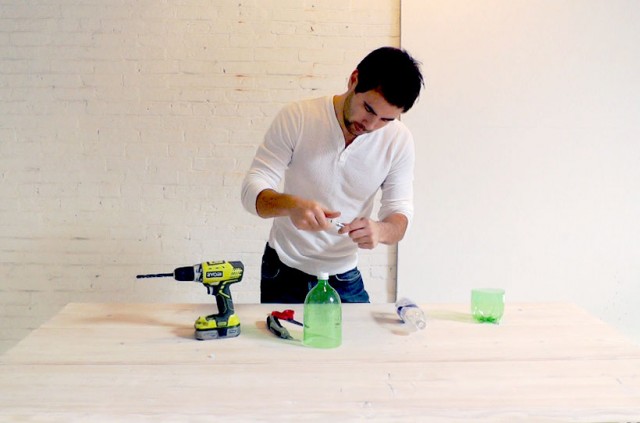
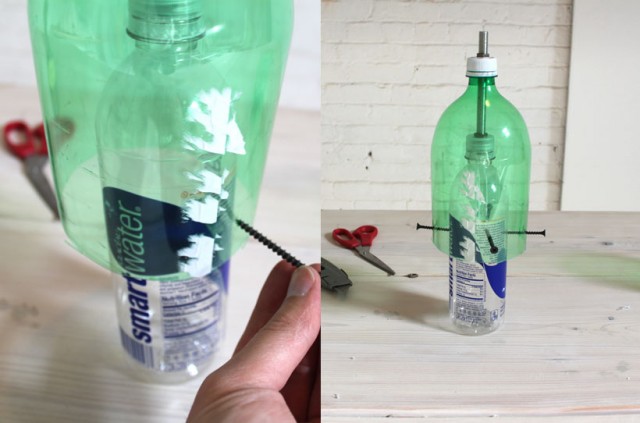
The next step is to drill holes in the caps of the soda bottles. The hole needs to be big enough for the metal tube to just fit through.
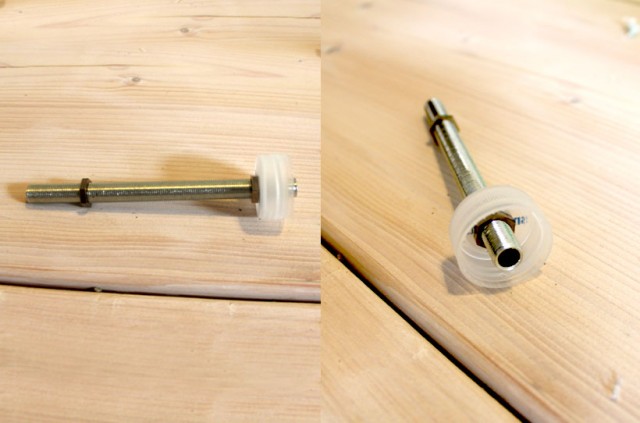
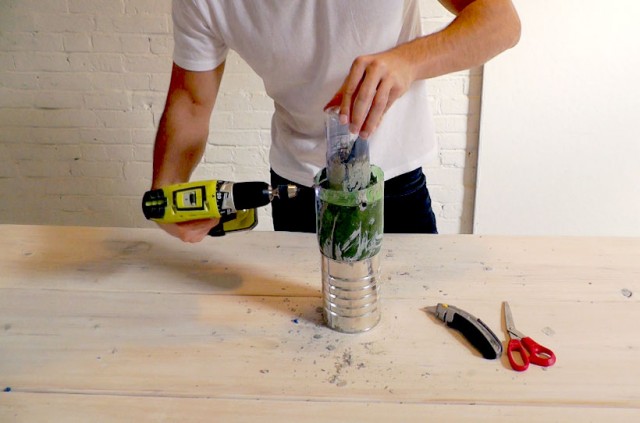
Connect the bottle caps by screwing the tube through the hole and using nuts to hold them in place.
Screw the caps onto the bottles.

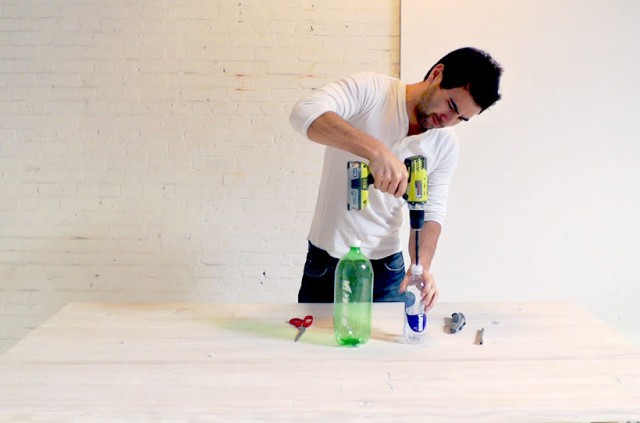
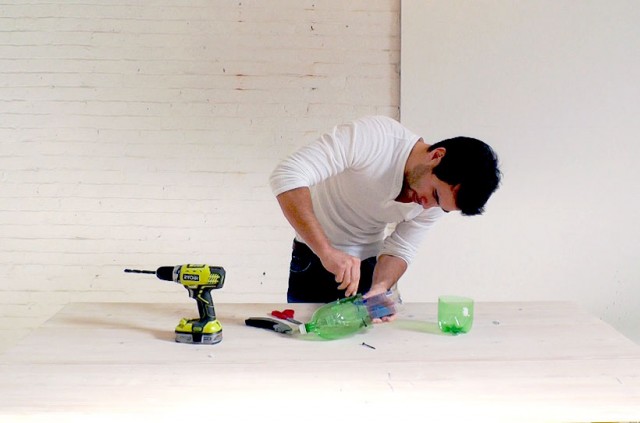
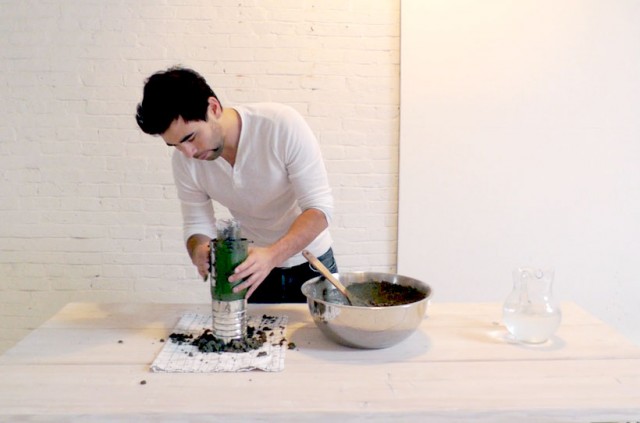
Use the deck screws to hold the bottles in place.
Mix the concrete and fill the molds. Make sure the concrete settles.

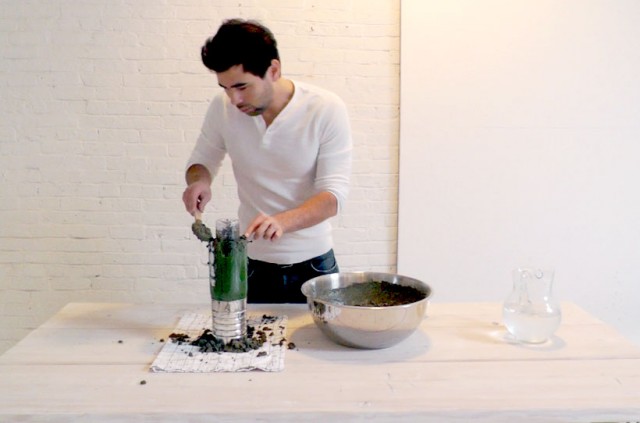
Remove the plastic bottles.

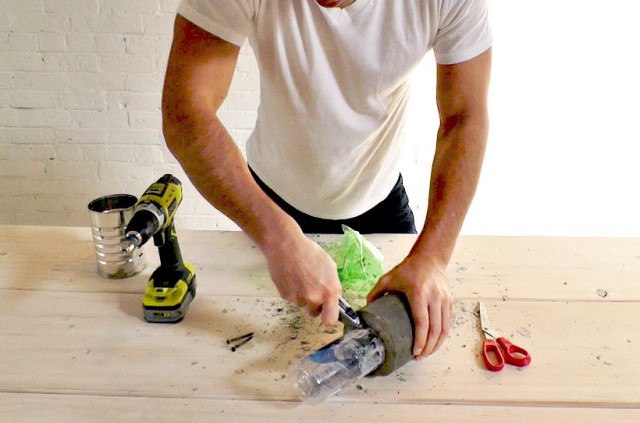
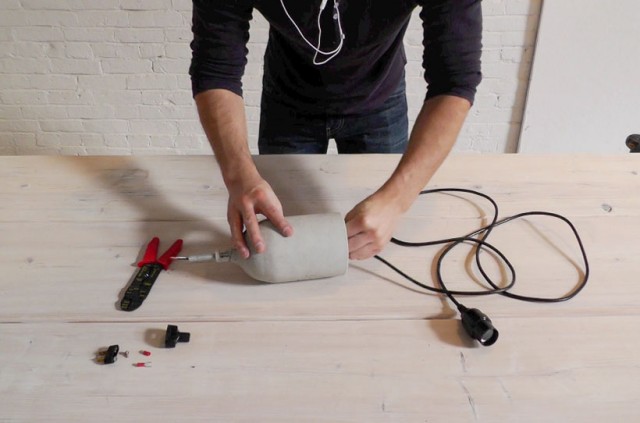
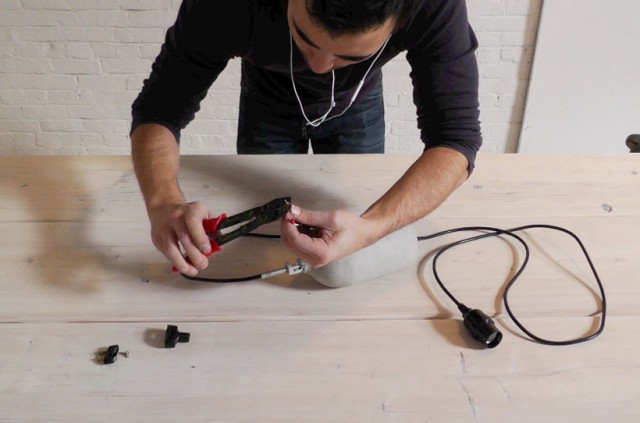
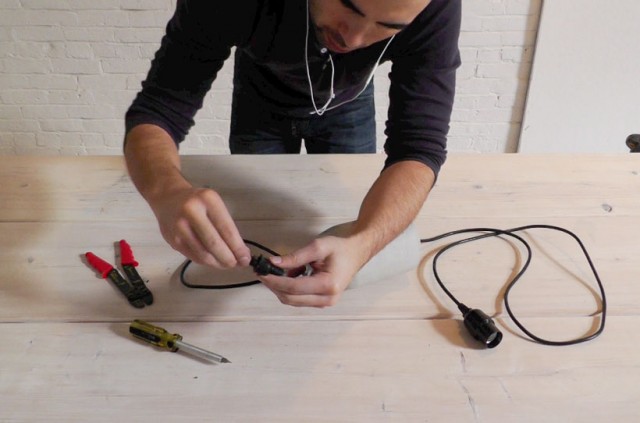
Sand the rough edges down with sandpaper and begin wiring the lamp. Cut the socket end of the wire and thread the cut end though the bolt hole. Strip the wires and twist them together. Cover the exposed metal with electrical tape or wire nuts and make sure the pendant is securely fastened.
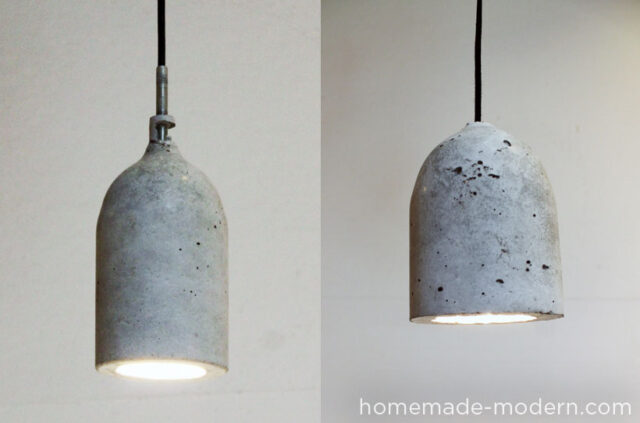
Your end results should looks something like this. The beauty of this project is your ability to shape the lamp how you want with all sorts of bottle designs and how you cut the bottles. Check out HomeMade Modern for any extra help and even more projects.