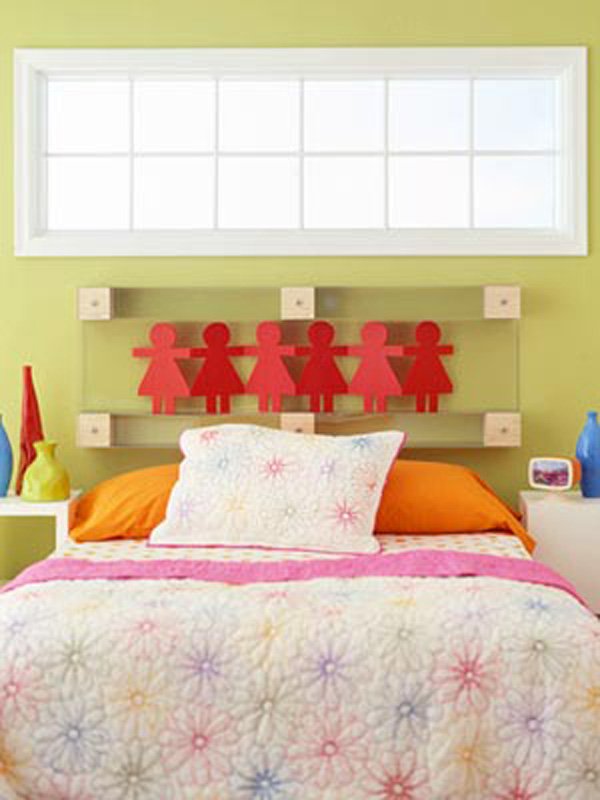
Start by having a metalsmith cut a piece of sheet metal into four 31/2×56-inch strips. He can also predrill three holes in each strip, one 2 inches from both ends and one in the center, or you can do it yourself.
Make six 31/2-inch-square wood blocks from any attractive 4×4 lumber. Screw the wood blocks through the predrilled holes of the metal strips using No. 12×11/2 flathead sheet metal screws and No. 12 nickel-plated finishing washers. This creates the top and bottom supports for the headboard.
Drill 56×201/4-inch sheets of 1/2-inch plexiglass to the front and back, through the wood blocks.
Cut the doll shapes from six 12-inch-square sheets of corrugated plastic. Tape the dolls together across their backs. Push the dolls into place through the open ends of the headboard.Drill a hole in the back of each of the three top wood blocks, place three corresponding screws into the wall studs, then attach the headboard to the screws.