Samurai Sunhat
Do you want a nice sunhat like the ones worn in Ninja Scroll or as worn by Ryū Kagami? Why not make your own? It’s not that hard. All you need is a little time and patience. In this tutorial, I’m going to explain how I made my very own Jingasa. BUT Before we start: SAFETY FIRST!! Please respect the tools you work with and keep your hands and your lungs safe by using the right caution and protection.
You will need:
- a piece of birch triplex (at least 25*25 inch)
- a pencil
- a piece of string (11 inch radius)/li>
- a push pin
- sandpaper or a sander
- a belt saw
- a sharp knife
- a metal ruler
- 3 clamps
- 2 pieces of wood wrapped in cling film
- kettlebells or other weights
- glue
- a piece of fiberglass wallpaper
- stuff to paint your Jingasa properly (primer, spray putty, paint)
I made an instruction video of the whole process, which you can view below:
...
Step by step tutorial
- First, attach the string to the pushpin and stick it to your triplex. Then, attach the pencil to the other side and draw a circle.
- Now, draw a wedge from the centre to the edge. The “bottom” of the wedge you’re cutting out needs to be 3.2 inch wide.
- You are now going to cut out the circle with a belt saw. When you’ve finished sawing your circle, smooth the edges using a piece of sandpaper or a sander.
- Cut out the wedge with a sharp knife and a metal ruler (mind the fingers!).
- Next, you’re going to give your triplex a nice hot shower for about ten minutes. This makes it more pliable. Once your triplex is soaked, shape your Jingasa-to-be using clamps (ask someone to help you. It is nearly impossible to do this all by yourself). Once the clamps are in place, weigh your jingasa down with a few weights as shown in the video.
- Leave your hat to dry for a week. Then, remove the clamps. Apply glue and place back the clamps. Again: have someone help you out because it is impossible to do it on your own. Leave this to dry for a week as well. I know it’s cruel to keep you waiting all the time but if you’re not patient, it can ruin your whole Jingasa and we don’t want that, now do we?
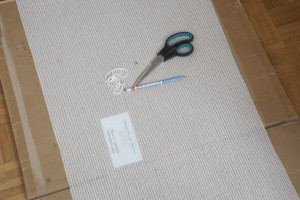 While your hat is drying, draw the same size circle on a piece of fiberglass wallpaper. Once your hat is dry, apply a coat of glue to the inside of the hat and firmly press the wallpaper onto the wood. Place the wedge of the wallpaper on the opposite side of the wedge of the wood (see video). Make sure you smooth out the wallpaper (do this CAREFULLY). Let this fully dry! Again, if not fully dry, you will not be able to paint over it and it will probably ruin your Jingasa. When fully dry, trim and sand off any edges.
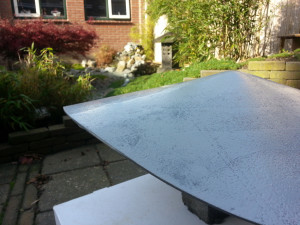 Next, you’re going to smooth out the top of the hat with a sander. Once you’ve done this, get rid of the dust and spray a fair amount of base coat on your Jingasa. Let it dry and sand down any loose fibers. Now, apply a good amount of spray putty to make your hat even smoother. You’ve probably guessed the next step: let it fully dry!
- Before painting the inside, spray a couple of layers of gold spray paint on the whole rim of the hat. It’s easier to do this now than to paint it afterwards.
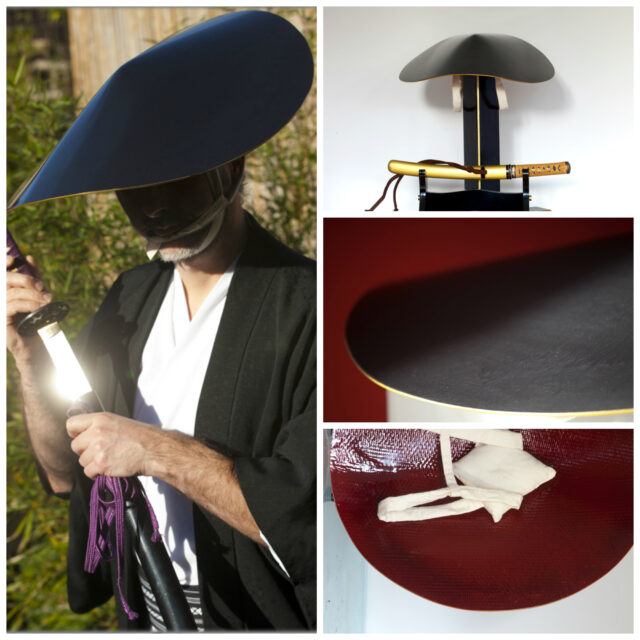
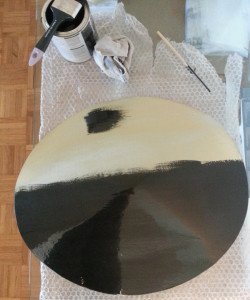 Paint the inside of the hat, let it dry and paint the top part of the hat (with Hammerite to get a metal-like look). Let this fully dry.
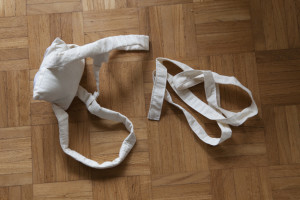
- You’re almost there. Next, make (or have someone make) an Atamadai (cushion). Apply this to your Jingasa (on the inside, of course). Enjoy your very own Jingasa.
